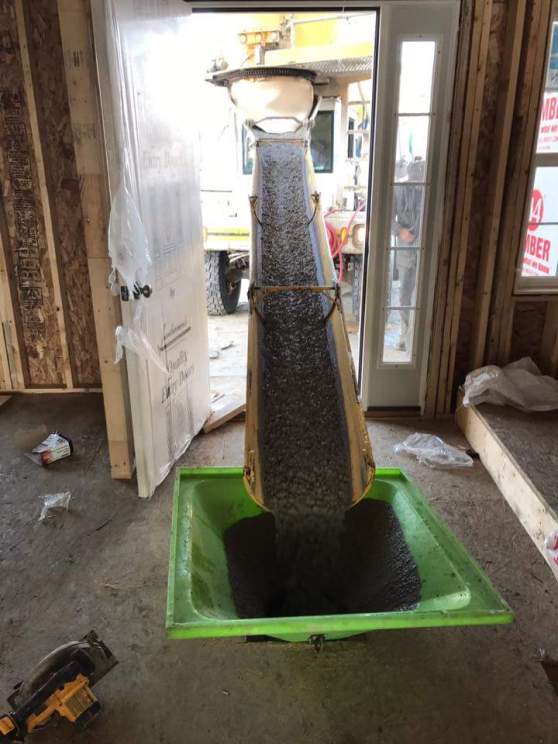
Concrete floors are typically referred to as such when they exist within the constraints of a building. A floor may be poured prior to wall/roof framing (if the walls don’t rest on the floor and weather permits) or it may be poured after the structure has been partially erected (this approach is useful to shield the curing slabs exposure to cold/hot weather or rain).
When placing concrete, crews commonly start at corners moving back and forth and working their way backwards towards a common point (corner, doorway, etc). Since floor pours are often done with perimeter walls up, the straight-edge or strike-off tool may not be able to be guided on forms around the perimeter of the slab. This means the ‘come-along’ placement, screeding, and bull-floating stages must be working almost concurrently as the crew is essentially blocking itself out from each area as it progresses (until the slab can be walked on without damage). Because of this existing prep and grade must be very accurate and correct placement concrete depth and top-of-slab grade must be checked consistently. This condition is particularly true for basement floors and areas with many wall bumpouts, recesses, and corners.

For basements, getting the concrete to its below grade location can be challenging. Because of this, it’s common for the pours to take place prior to floor sheathing placement, so the concrete chute can drop the concrete onto the subgrade. If the grade floor is already in or the building is existing, it’s typical for the concrete chute to place the concrete through a basement window or through a hole cut in the floor sheathing of the 1st floor.

Floors will typically receive a trowel finish followed by a curing compound spray or water and visqueen or burlap finish. Once the concrete is hard enough to support the weight of a saw (usually 4-12 hours after placement) it will be cut into ‘bays’ every 8-16 feet apart and at least 25% of the depth of the slab, to control cracking.