Steel Roofing Panels are often utilized on larger commercial buildings, industrial buildings, garages, and more. Metal Roofs are moss, mold, and fungus resistant unlike some other roofs. They will often last 30-50+ years (and possibly up to 100) with a corrosion-resistant finish and well maintained. Many manufacturers offer 30-50 year warranties when installed per specification (sometimes certified installers must be utilized or a maNufacturer’s rep present during installation). Asphalt shingle roofs tend to only last 15-30 years depending on many factors. Paint warranties are typically guaranteed against fading, chalking, chipping, cracking, and peeling. When first introduced, metal roofing panels were made of wrought iron sheets and then roll formed into the chosen profile, largely simple corrugated at first. More modern metal roofing materials are:
-aluminum
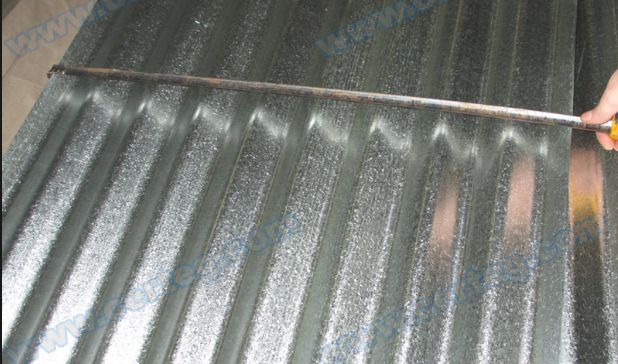
-galvanized steel

-zinc-coated steel
-stainless steel

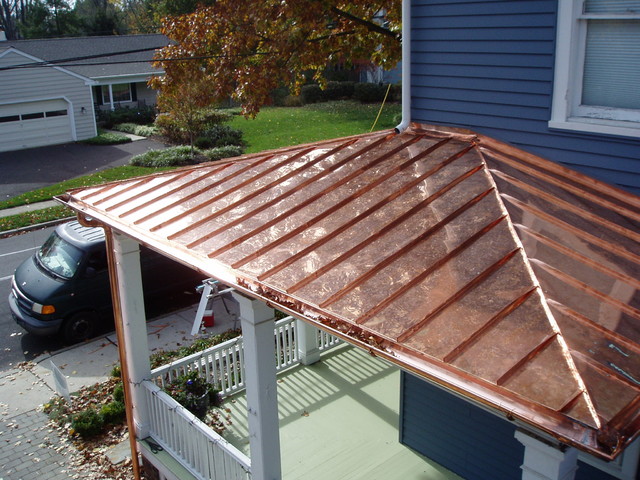
-copper
and alloys of different types of metal (often 30-60% recycled material).
A zinc/aluminum/silicon-coated-steel alloy is very popular currently, often marketed as ‘Galvalume’ or similar.
Hot-Dipped ALuminum-Zinc Alloys are designated by AZ50, AZ55, etc (i.e. Zincalume).
Paint or coatings are often installed on steel, aluminum, or alloy metal panels prior to shipment. Polyvinylidene Fluoride (marketed as ‘Kynar or ‘Hylar’) is a very popular long-lasting coating being used currently.

The different profiles commonly made in metal siding panels are:
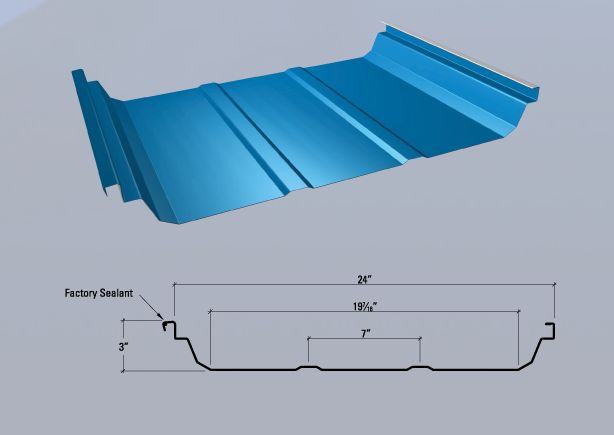
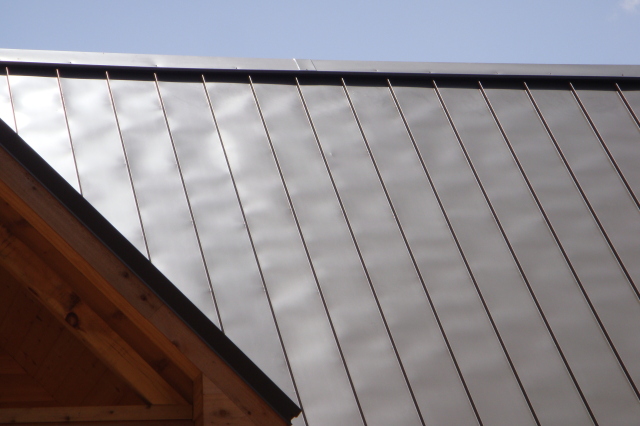
-standing (or batten) seam and exposed fastener

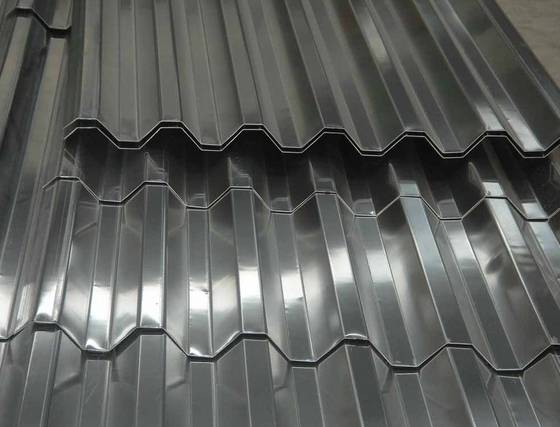
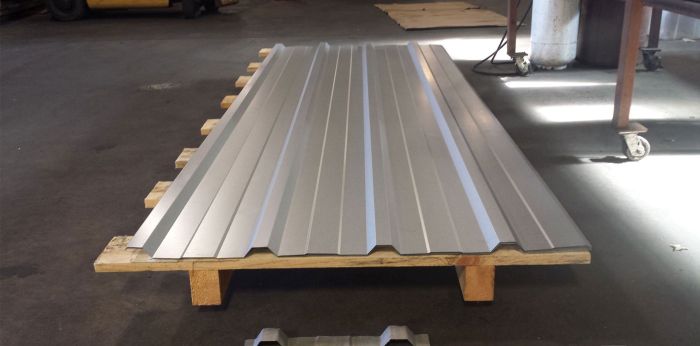
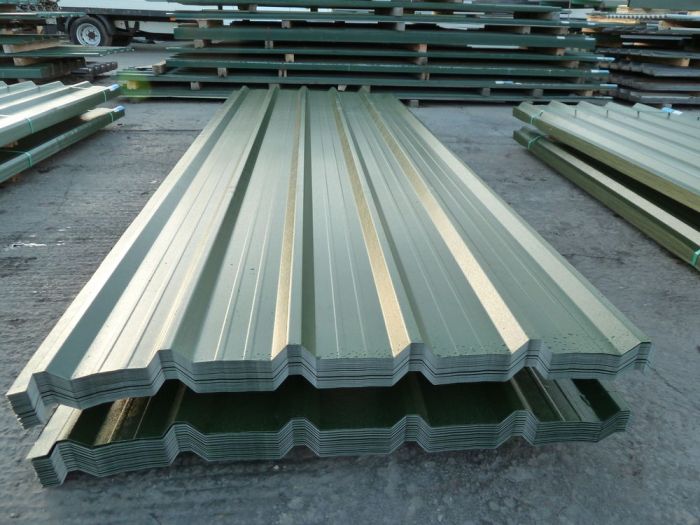
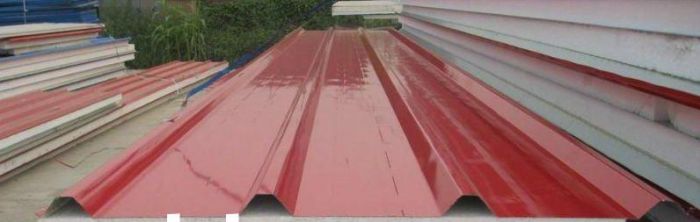
-trapezoidal
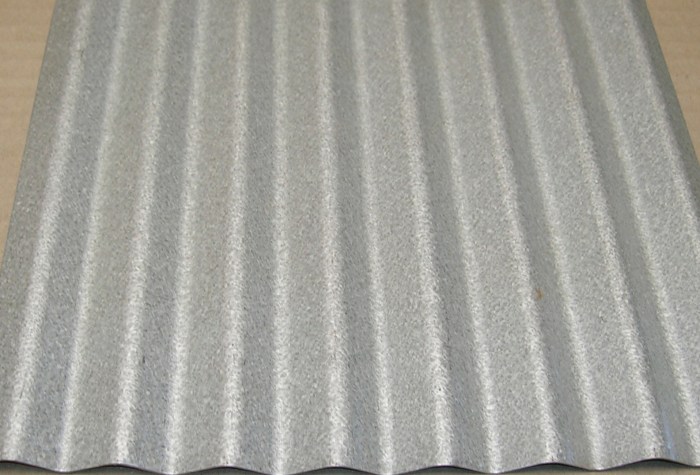
-corrugated

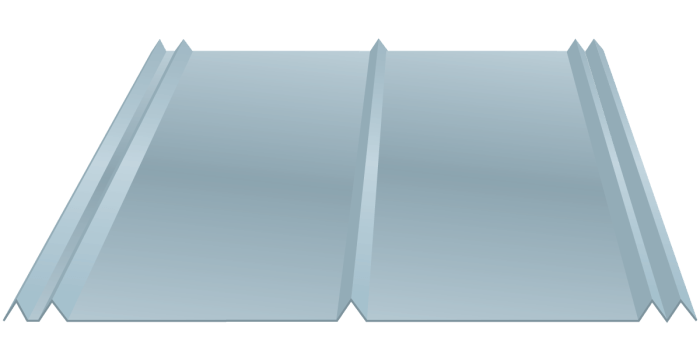
-ribbed

-v-crimped
-curved

-recessed

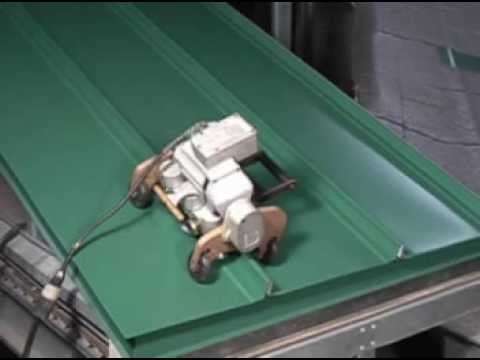
Standing Seam panels are typically ‘snap-locked’ or seamed by hand (or mechanically).

They are produced in many different sizes, thicknesses, shapes, and sizes with a number of finishes and coatings. Some more common finishes are:
-vinyl plastisol
-fluorocarbon
-siliconized polyester

The typical steel thickness ranges are 12, 16, 18, 20, 22 (0.029″), 24 (0.0236″), 26, 29 gauge with 26 (0.019″) and 29 (0.014″) gauge being the most commonly used in lighter duty applications.
The ‘G’ designation with steel panels is a zinc coating thickness label with G30 = 0.30 oz/SF, G40 = 0.40 oz/SF, G60 = 0.60oz/SF, G90 = 0.90oz/SF or more in special applications. Zinc coating weight is based on project environmental conditions and intended usage and planned weather exposure. Panels are commonly 22-36″ wide and 5-12′ long, but can be manufactured much longer.
Common aluminum panel thicknesses are 0.024, 0.032, 0.040, and 0.050″. Aluminum sheets commonly range from 35″ to 48-1/2″ wide and lengths of anywhere from 3′ to 30′. Fasteners can often be concealed or exposed, will be non-corrosive, have a certain specified spacing distance.
Metal Siding is often interchangable and can be used for roofing as well but check with manufacturer on this possibility and the trims and accessories required for each. Metal roofs in some cases can be installed over existing shingle or flat roofs if the existing roof is in reasonable condition (though some manufacturer’s advise against this as shingles can telegraph through to metal panels). Local codes will often dictate this possibility and 1x or 2x furring strips are commonly installed for a leveling and attachment substrate.

Rigid insulation is often installed under metal roof panels when the required R-Value isn’t achieved elsewhere in the structure below.
The following is a list and description of basic trims, flashins, parts, and pieces typically used on a metal roofing project:
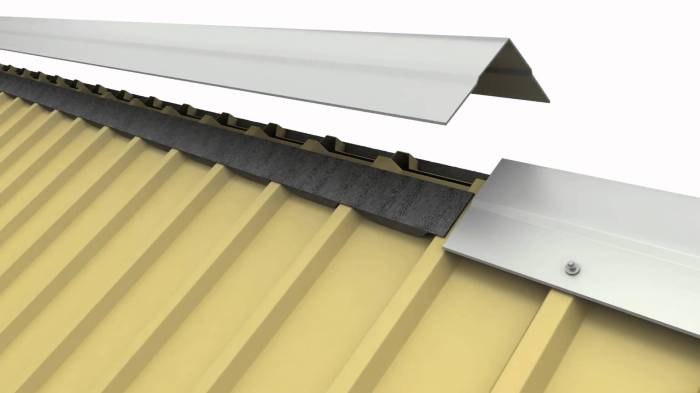
– Ridge
– Gable

– Eave

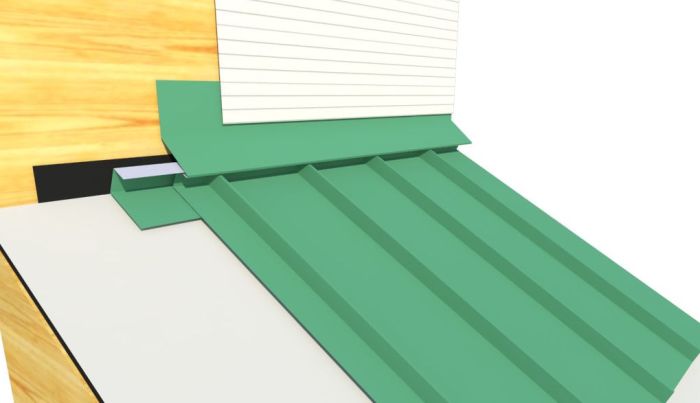
– Sidewall Flashing – Typically installed at vertical to horizontal joints on roof to sidewall joint

– Endwall Flashing – Typically installed at vertical to horizontal joints on roof to sidewall joint

-Valley

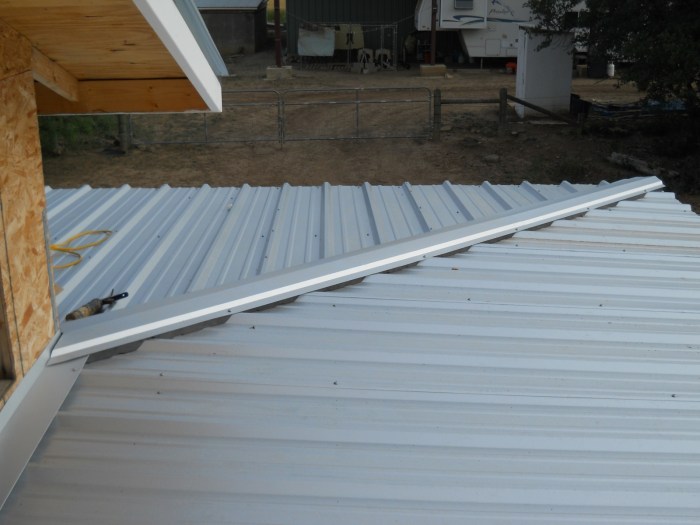
– Hip
– Venting – Often at ridge and within soffits.

– Soffit

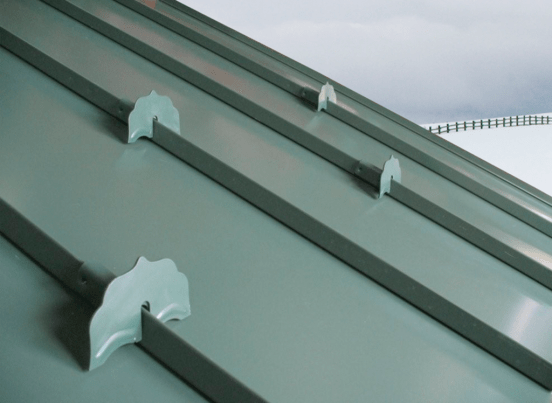
– Snow Guards – often in locations with heavy foot traffic to minimize snow falling
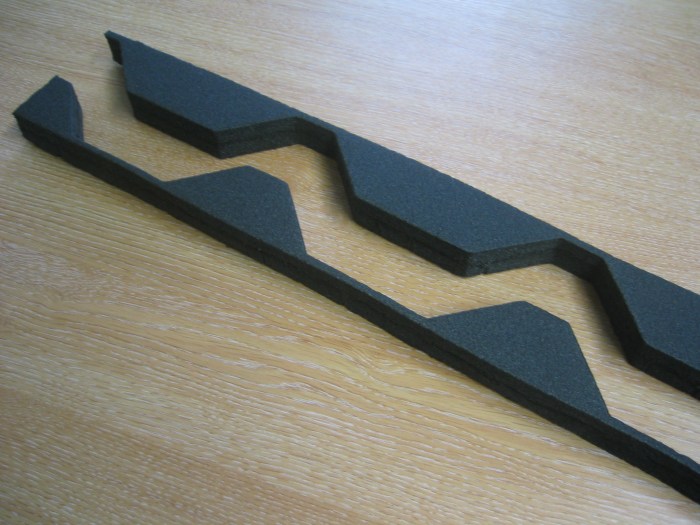
– Closures – Often at eaves and ridges
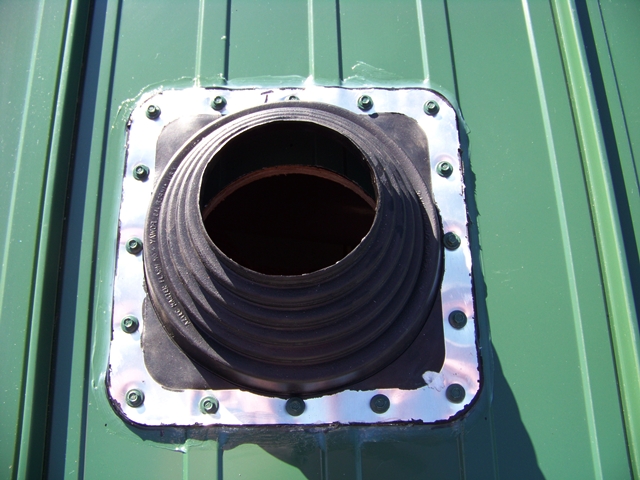
– Pipe Boots
– Specialty Trims – Other proprietary trims or specialty trims for unique or unusual locations or transitions check with manufacturer
Metal roofing panels must be stored on end, not flat, and when ultimately placed must be lifted from the stack not slid.

Prior to installing panels, any ‘non-cap’ trims should be installed on the building. The following are flashing conditions for a metal roof: Eave, Ridge, Gable, Endwall, SIdewall, Valley, Hip, Transition, Gambrel, Soffits. Panels are commonly lapped a minimum of a couple inches depending on the profile of the panel.
Panels can typically be cut with:
tin snips

electric/pneumatic shears

a profile shear
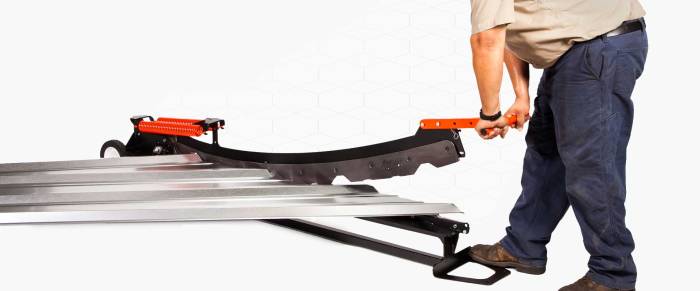
circular saw

electric nibbler.

For circular saw cutting a carbide-tipped light-gauge-metal ferrous blade should be used. Aluminum panels are often simply scored and broken for simple cuts parallel to the panel joints. For standing seam panels, a hand or mechanical seaming tool is often required.
A rubber membrane underlayment (often peel and stick) is commonly used with metal roofing panels being especially important at valleys or difficult to seal areas. Rubber underlayment is also especially important at the eave and up at least 24″ past the exterior wall to resist moisture movement through the sheathing from ice damming. Lastly rubber membrane underlayment is very important at panel seams when they aren’t expected to be fully sealed. 30# felt or synthetic underlayments may also be used with many products. Ice and Water shield is typically placed at Valleys, DOrmers, Chimneys, transitions, and skylights. Panels are typically started at the gable/eave corner bottom panel first, then if a second panel is required to reach the peak it is installed second. This process is then continued all the way down the roof.
Panel length is often determined by roof slope, panel product choice, and a heavy rain situation (often 4″/hour rain event). Sealant tape or butyl caulking may be required at each lap joint depending on the product.

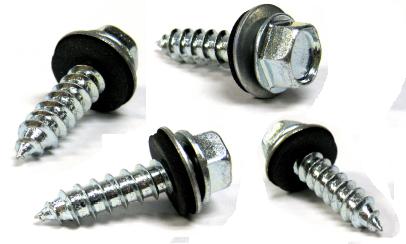
Panel sidelaps should face away from the typical direction of wind driven rain. Some manufacturers permit post fabrication on-site cold bends but 90 degrees is typically the maximum permitted. It is common for only a few fasteners to be installed on each panel for temporary support until later on when all fasteners are then installed. Common fastener lengths are +/- 1-1/2″ (should penetrate wood at least 5/8″), often self-tapping screws, and neoprene/sealing washers are sometimes used. Lap screws (type ‘S’ hex head) are often +/- 1″ and are used at lapping points where sheet is flat to substrate.
Wood ‘Frame’ Screws ( hex head) are commonly used at ribs/trims where panels offset from substrate.

Stitch screws (Tek screw hex head) are used at ribs/trims where panels offset from substrate but don’t actually penetrate substrate.

Fastener spacing is often driven by the wood panel type (OSB or Plywood) or direct stud application. Screws should not be overtightened as ‘oil-canning’ may result.
Nails often can be used as an alternate to screws and often penetrate the panel at the rib. A separating membrane must be utilized between dissimilar metals and between aluminum and treated lumber. A metal roof typically should not be walked on until all fasteners are in place.
